Showing posts with label Before After. Show all posts

Thursday, February 23, 2012

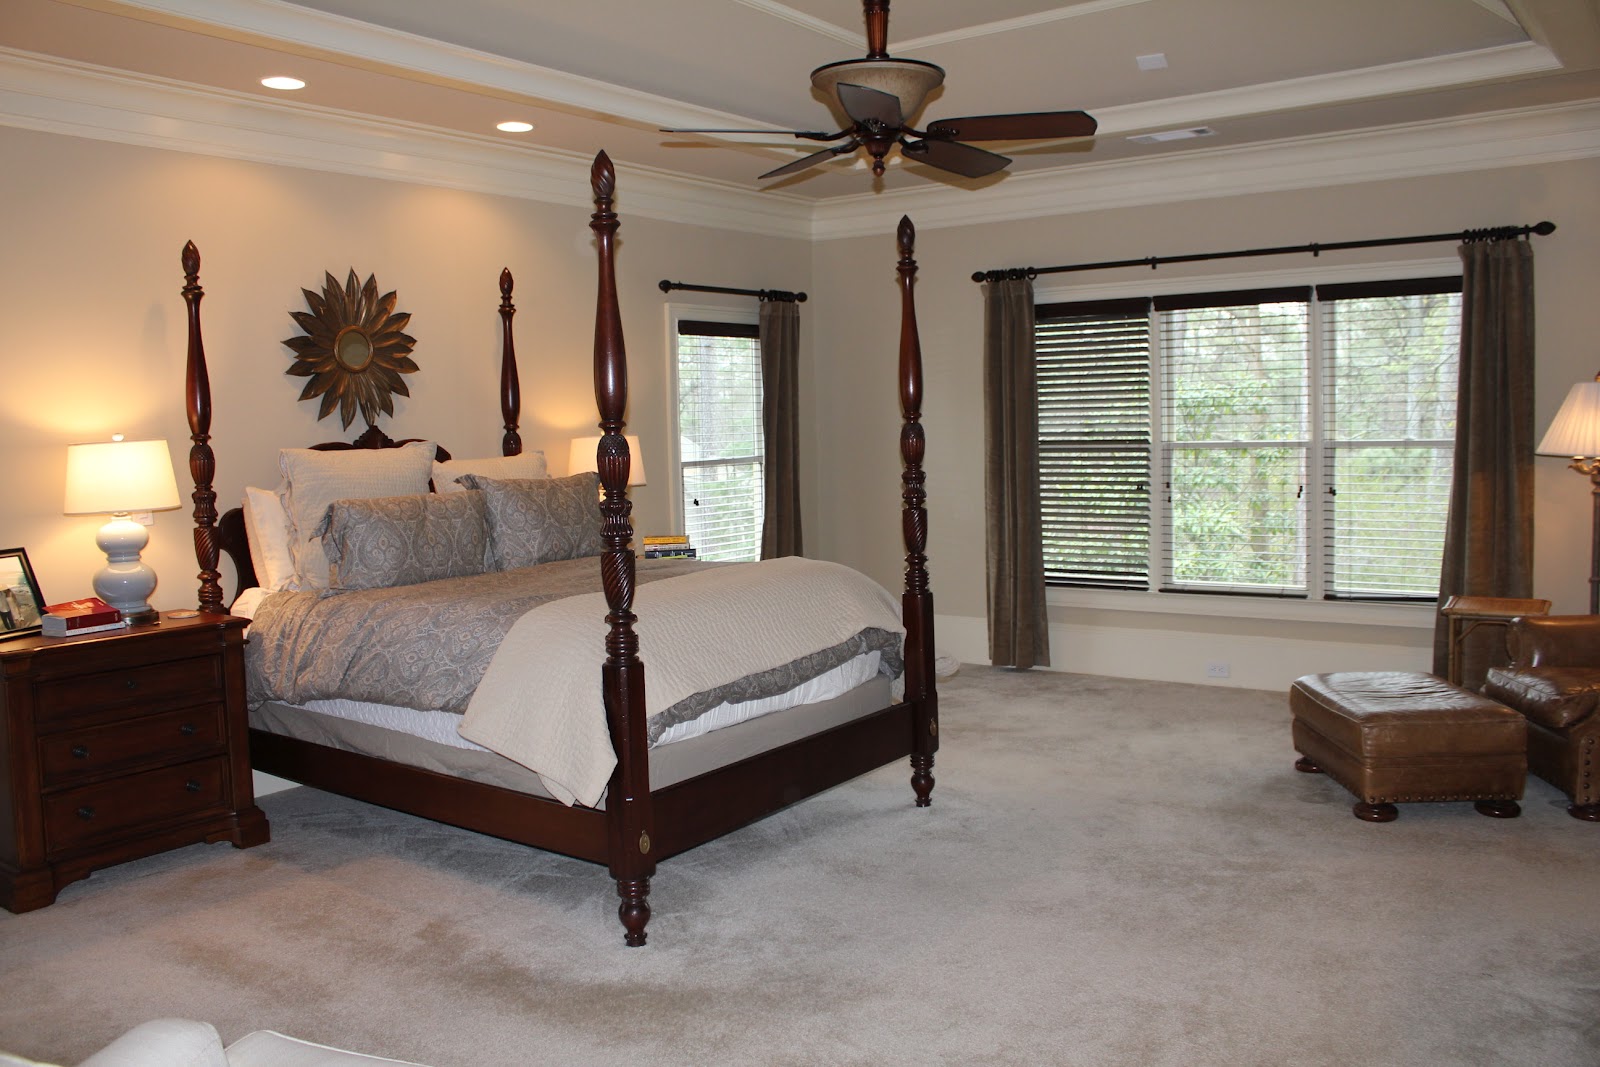
Master Bedroom "Before"

Remember how I mentioned that we are FINALLY decorating our Master Bedroom?  Well, I am SO excited to report that we've made a lot of progress.  (No pictures until it's done!)  Ryan has been hard at work constructing built-in bookshelves and I got the Pottery Barn Napa Chair and Lidded Barrel Basket for my birthday.  Still on our list:
  • artwork for behind the bedside lamps
  • rug
  • bench/chest/baskets for the end of the bed
  • tiebacks for the drapes
  • swing arm lamp for above the chair
  • writing desk
  • accessories for desk/shelves
  • remove giant black armoire
While that seems like a lot, we are making really good progress and I hope to have it complete in the next few weeks.  To make myself accountable for that statement, I am going to share the before pictures below.


Any suggestions??

Wednesday, September 29, 2010

Before & After: Family Room Side Table

Where to start after so much time away from blogging? How about with a simple before and after picture of our new side table from August. The before picture shows a black three tier glass side table that I bought from Crate & Barrel shortly after graduating college. It has a matching coffee table--- and it was love at first sight. The pair worked great in my post-college apartments and college-- but the straight lines and black color just really don't fit with my post-marriage decorating style. I needed a warmer look for my family room --- something that would contribute to the comfortable, classic "English Library" look I am going for in the family room. What did I find?

I found a great deal at the Pottery Barn outlet on the Map side table (and matching coffee table). I love the warm brown finish. The shelf still allow the hubby to have his unsightly surround sound receiver/speakers, while the drawers provide great storage for books, magazines, and my favorite...remotes!

Thoughts?

Sunday, August 8, 2010

Bookshelf Painting Project: Before & After

It was a busy weekend at the Edmonds' household (or should I say the Edmonds Inn?):

Our friend Leigh stayed with us for a weekend visit and wedding dress fitting. Ryan's brother Chad and his girlfriend Carly came in town to help us with some projects around the house (bookshelf painting, electric dog fence installation, pressure washing, stripping the deck, etc...whew!) Chad's friend and his girlfriend from Knoxville crashed at our house for the night after the Braves game on Friday

I got up early Saturday morning to be sure that I had time to complete my bookshelf transformation, as promised. I am so pleased with the results. Check out the project in pictures below:

Before:

I started by clearing off all of the accessories and then removing the shelves themselves.


I then sanded the wall, dusted, and taped off the edges.

Ta da! I applied two coats of a soft green paint.

After:
(It's hard to see the green in this picture. I think I used the flash. I will try to snap a few more. It's a subtle change-- but you can tell in person. It looks great!)
What do you think?

Ashley

Friday, July 2, 2010

Guest Blogger: Before & After

My parents have been helping my brother Eric and sister-in-law Paige prepare their house to go on the market this fall. My mom was kind enough to write a guest post about one of the most recent projects. The change was simple, but it made a huge difference. Check out her post below:
**************************************************************************************

My son and daughter-in-law were thrilled to find out they are expecting their first child in January. (Editors note: Babies everywhere in my family!) However, with the eminent arrival of their bundle of joy came the realization that their cute little house in Grant Park is not big enough for all the baby paraphernalia that accompanies this small wonder. So, Ken and I (along with Paige's parents) spent Saturday working on projects to get the house ready to put on the market in September.

My assignment was to tackle this door in the sun room:


The previous owners had used some type of paint to give it a faux stained glass look. (Sorry, I decided to document this part way through the project-- should have removed my trash bad and bike stand before taking the photo). After some experimentation, I found the most effective method was to scrape off some of the paint with a chisel and then spray window cleaner down behind it. Removing the colorful paint took several hours.


Allowing more light into the room and providing privacy were the two goals we had in mind for the window treatment. A wooden blind to match the others in the room was not feasible because of the two curious puppies! After some research, I decided to experiment with white window frosting spray. Again, I moved the bike rack and trash bag but forgot to take the picture before I taped one window!


Here is what the project looked like from the inside and outside! The can of spray paint was less than $5.00. If I hadn't had to remove the old paint, this project would have taken only about an hour. Beware, the fumes are very strong!


Watch for further updates as we continue to stage this room and the rest of the house over the summer.
***********************************************************************************

Thank you for the great write up, mom! It looks like the house is coming along! I cannot wait to be an aunt again in just 6 short months.

Happy 4th of July!

Ashley

Tuesday, February 16, 2010

Master Bedroom Curtains

Remember how back in October I talked about adding drapes and new lamps to my master bedroom? Well, the drapes were finally ordered and they are in! {Yes, I realize that it is four months later. And, yes, I realize that I still don't have new lamps.) However, we are making progress towards a comfy, cozy master bedroom.

In my earlier post, I planned to try out a chocolate brown velvet drape to add deep tones, texture, and a little drama. I tried the chocolate, and I hated them. The problem was that our blinds are a dark brown as well, but they have a reddish hue to them. Trying to match that hue was challenging and the dark brown was just too...well, dark. I wanted our bedroom to feel soothing and relaxing. The chocolate brown was just too much drama. Luckily, my mom spotted a middle-toned velvet drape at Pottery Barn that was PERFECT! It was darker than the wall but lighter than the blinds. These drapes offered just the right amount contrast, softness, and texture.

We hung the drapes over the weekend. Check out the difference that the softness and warmth of draperies makes in our room:

BEFORE:

[View from the door]


AFTER:

[I hate that this is so dark. I was trying not to use the flash to keep the photo from overexposure.]


BEFORE:

[Sitting area]


AFTER:

[Again, dark]


BEFORE:

[View of the bed from the door. Sorry about all of the tools!]


AFTER:


FINAL LOOK:

[I used the flash in this one. As a result, the photo is overexposed and you can't see the contrast]

[Note: I should have lamps to add soon! Stay posted!]

What do you think?

Ashley